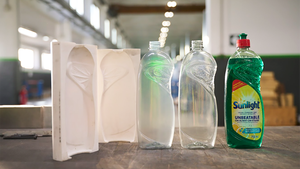
Packaging Photography 101: Taking the Perfect Shot
Product photography may seem daunting, but it’s an acquirable skill. With practice, you’ll be set to take high-quality photos of your packages that rake in the sales.
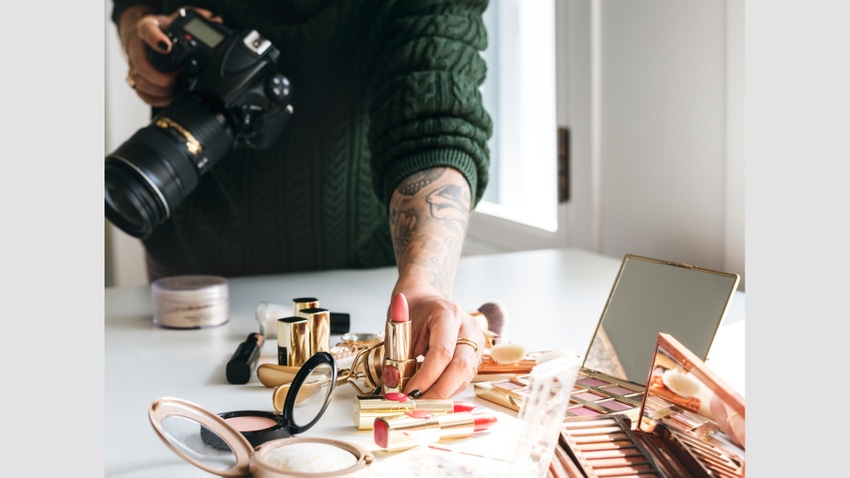
Packaging departments have always been a “Jack of All Trades,” responsible for various tasks that might seem tangential — but end up on your To Do list anyway. Taking photos of packages — for promos, ads, and, more recently, ecommerce sites — is one of the latest additions.
There’s no doubt about it: a compelling image can make all the difference. A well-captured product photo could be the deciding factor between a potential customer scrolling past your item or clicking "Add to cart."
A whopping 90% of Etsy buyers say that image quality significantly impacts their purchasing decisions. That’s even higher than other significant factors, like item costs, shipping costs, and product reviews.
But there’s more to driving sales with product photography than positioning your camera and clicking away. This article provides a guide to doing it the right way.
The guide to packaging photography.
As long as you’re in the business of selling products, package photography has to be considered one of your tools for sales enablement. But first, you must lay the stage for it. Here are the elements that will empower you to capture the right side of your goods, from using the correct equipment and controlling the lighting to staging the setup and perfecting the finished product with expert editing.
Rawpixel / iStock via Getty Images Plus
1. Use the correct equipment.
Camera and lens.
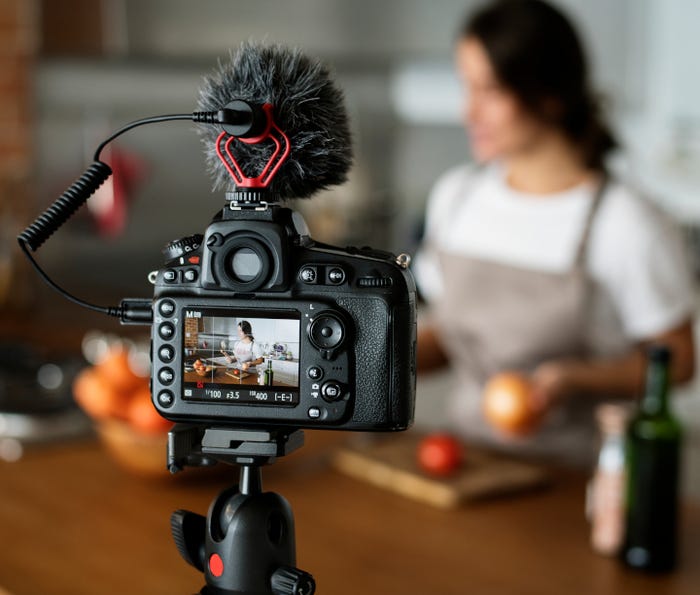
You need expensive cameras to capture the best images, right? Well, that’s not necessarily the case. Sure, high-end, professional-grade cameras offer advanced features and superior image capabilities. However, it’s important to remember that the camera is just one component.
Many mid-range DSLRs (digital single-lens reflex cameras), mirrorless cameras — and even smartphones — now offer impressive features, making them perfectly suitable for product photography. They let you experiment with camera settings and compositions. Plus, they can optimize your photos for lighting and environment differences.
A standard lens with a focal length between 35mm and 50mm is a good starting point.
Tripod.
Even the steadiest hands can introduce subtle vibrations as you press the shutter button. That’s why you could use a $5,000 camera and still end up with blurry photos, especially in low light or when dealing with slower shutter speeds.
So, while a tripod may look like a nerdy piece of equipment, you should invest in one. It lets you lock in your composition and shooting angle, ensuring that every shot aligns perfectly.
You don’t need an expensive tripod. Just look for one that’s sturdy and stable and can support the weight of your camera. It should be adjustable and let you achieve different shooting angles.

Larysa Pashkevich / iStock via Getty Images Plus
2. Control the lighting; natural vs. artificial.
Natural lighting is a free, easy solution that relies on the ambient light present in the environment where you are shooting, typically sunlight. It can be soft and diffused, creating a flattering and inviting look for your products. It also provides accurate color representation.
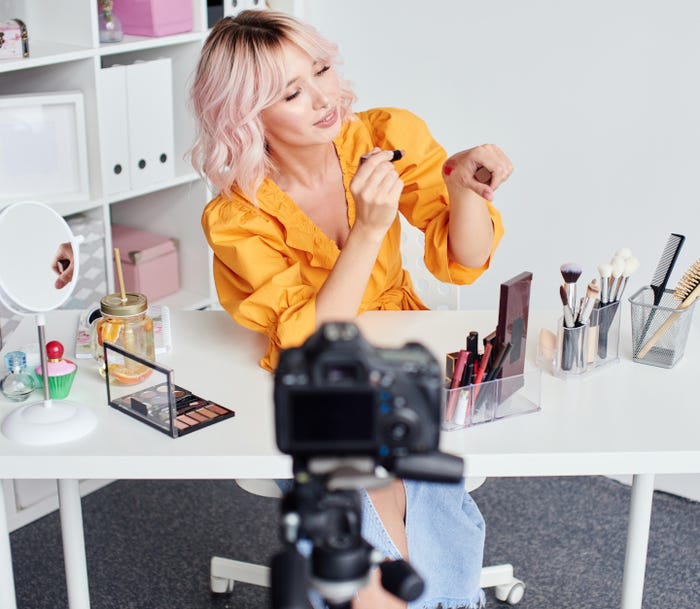
Artificial lighting is what it sounds like. It involves using specially designed lighting equipment, like studio lights, strobes, or continuous lights. What you get here is consistent and controllable lighting, which is great for achieving uniformity in your images, especially when capturing a series of products or maintaining a specific product branding look.
A rule of thumb is to stick to one or the other. Your choice depends on the type of product you’re capturing, the mood you want to set, and your skill level. For instance, natural light is a go-to choice for food photography. At the same time, artificial lighting usually works better for product packaging.
Satamedia / iStock via Getty Images Plus
3. Stage the setup.
Displaying your products is an art form. Do it right, and you’re on your way to making more sales. Drawing insights from social media trends, customer intelligence software, competitor analysis, and photography trends, you can tell a compelling story about your products that captivates your audience.
Choose the right background.
Sure, the package is the main focus, but the entire area around it can help you sell. After all, it sets the stage for your product and influences its visual appeal.
You may be tempted to use them, but it’s usually better to avoid busy or cluttered backgrounds. When in doubt, consider the classic white/black minimalist look — but textured backgrounds, like wood or fabric, add depth and character. Play around with contrast to help your package stand out.
Alternatively, set your product as the background.
Try different angles.
Working with different angles is one of the best ways to make your package more interesting in photos. Angles offer different perspectives and provide a dynamic dimension to your product photos. They can also show off elements of your product packaging.
Consider high and low angles, close-ups, and overhead shots. And to offer that brick-and-mortar experience, you can provide 360-degree images. Don't be afraid to get creative and try unconventional perspectives.
Keep in mind any after-effects or edits you may want to make to the photo too, such as adding your customized logo or overlaying text. This may impact the product angle or how much empty space you leave around it.
Use props.
Props are great because they provide context and convey the product's real-world use. So, how do you use them? Choose relevant props. For instance, herbs and fruits make excellent props if you’re taking photos of a natural skin care product.
Keep in mind that the real focus is your product. Props should enhance its visual appeal without overshadowing it.
Be flexible.
Be ready to adapt your styles and presentation to different products and desired outcomes. It’s like running ideas through a domain name search before finalizing your website’s name. Test different approaches to discover what resonates most with your audience. It can help determine which presentation setups result in better engagement and conversion rates.
scyther5 / iStock via Getty Images Plus
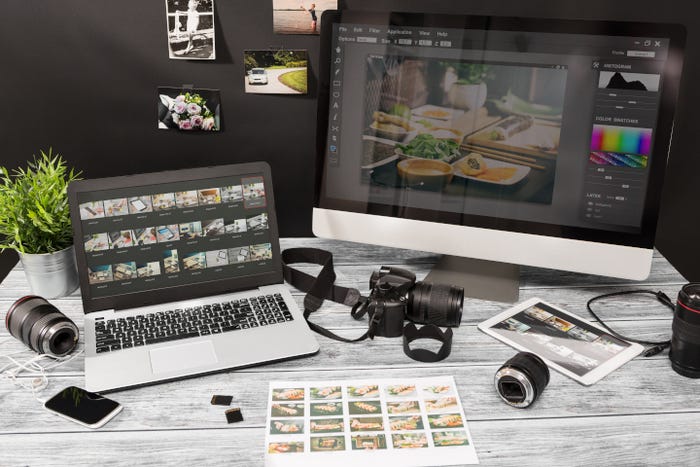
4. Perfect the finished product with expert editing.
At this point, you’ve put in a ton of effort and taken what should be the perfect photos. Except they seem to fall just short of the flawless images you see online. Don’t sweat it — editing is where the magic happens.
Adobe Photoshop and Lightroom provide a range of editing capabilities. But you can go the free route with Fotor or GIMP. If you prefer to use your smartphone, lots of apps in the major app stores can handle the tasks.
Maintain a consistent workflow.
Develop a workflow — stick by it. It keeps you from missing necessary processing steps. Plus, it increases efficiency, reduces errors, and upholds a uniform visual style for your images.
Use templates, style guides, and editing presets. Tools like a remote desktop connection manager can help you handle your editing across devices so your processes remain standardized across all product images.
Packaging photography 101: Key takeaways.
The quality of your images can significantly sway the buying decisions of your customers and audience. According to Etsy’s customers, it’s even more influential than the price of an item. That’s why you need to get it right.
Product photography may seem daunting for a beginner, but it’s an acquirable skill. Start with the basics. Learn about the different types of lighting, composition, and editing techniques. And practice makes perfect. The more you take photos of packages, the better you’ll become.
About the Author(s)
You May Also Like


